InchHarbor editorial research · October 10, 2026 · Not hands-on testing.
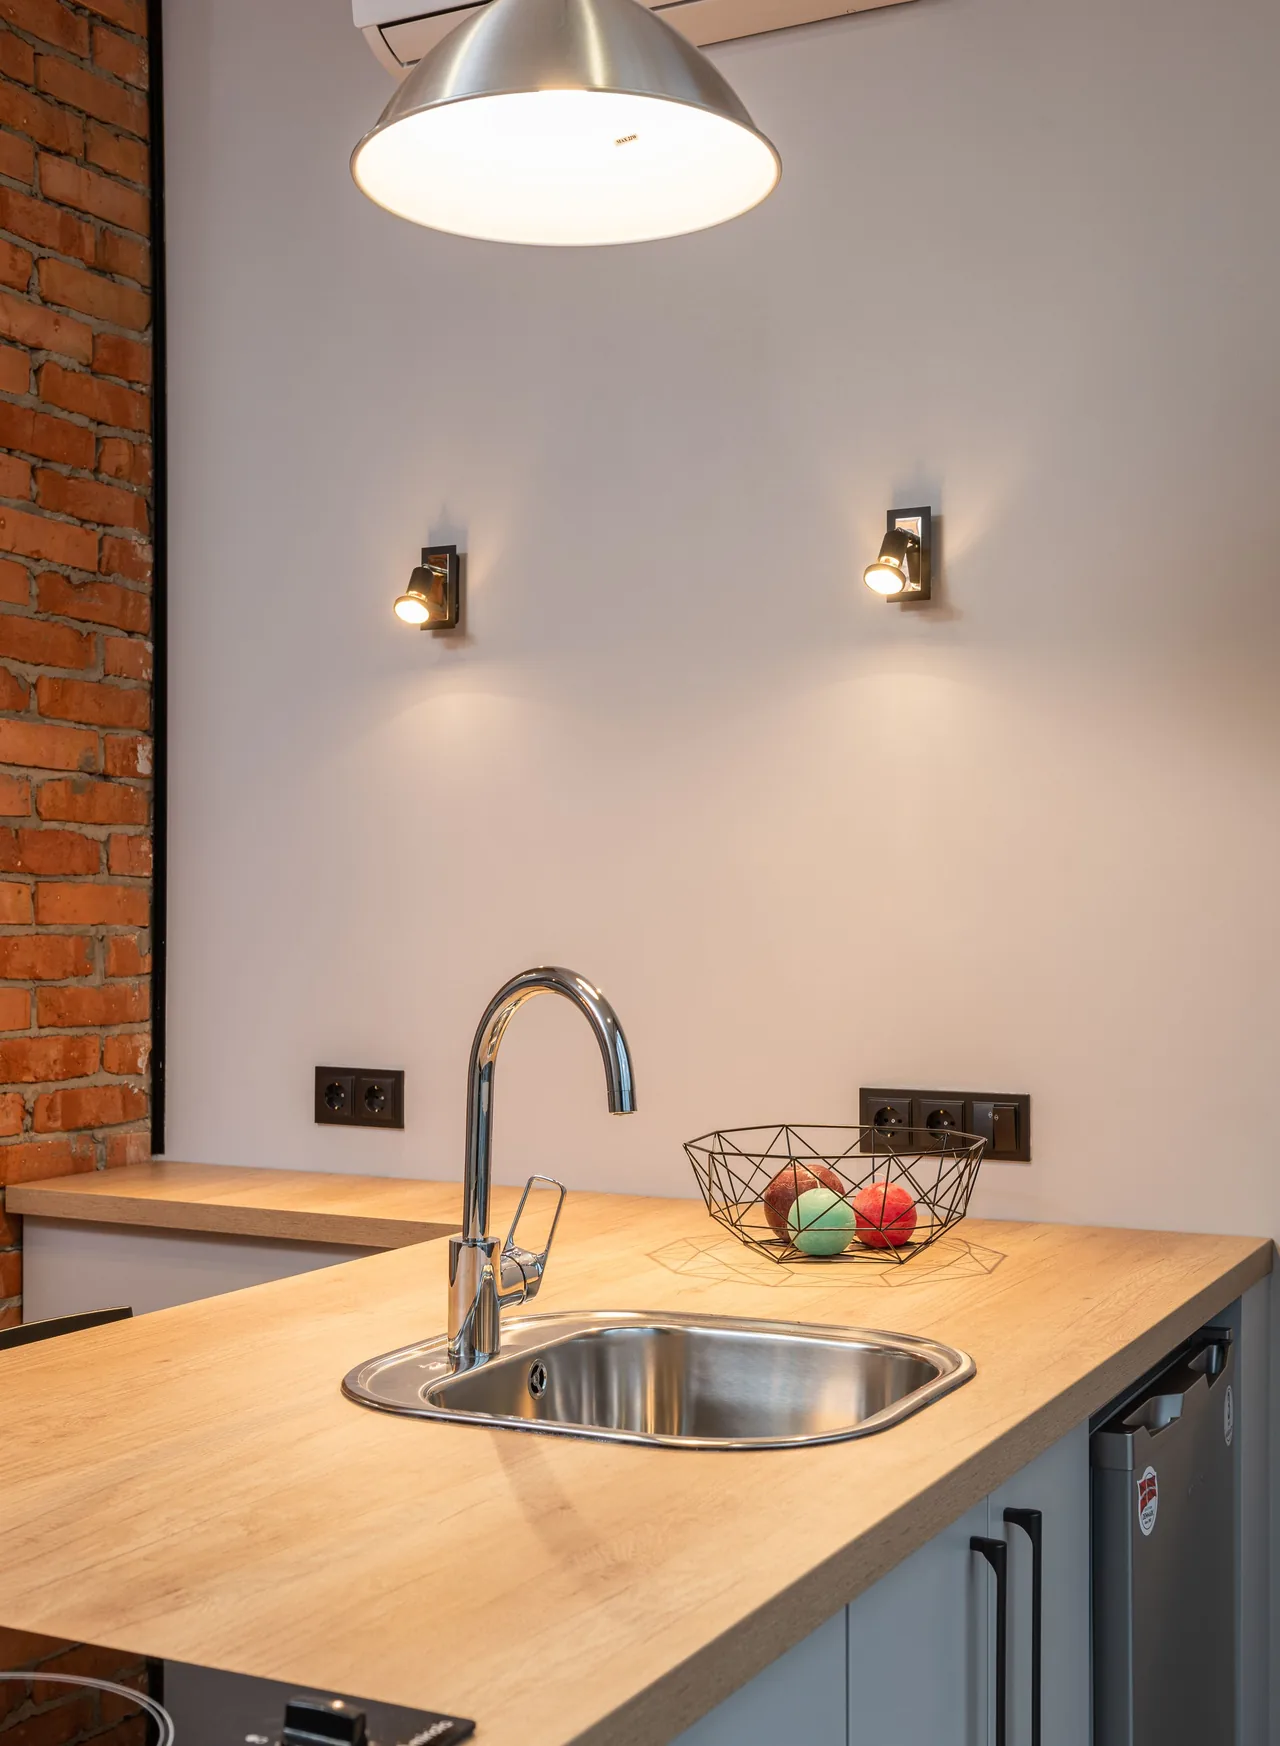
A dish rack needs two kinds of fit: enough supported counter space for its base, and a clear drainage path into the sink. Check both before deciding that a compact rack will work.
A listing may show an adjustable spout without giving its usable reach. That missing measurement matters when the rack must sit back from a raised sink rim, a faucet base or a narrow strip of counter. An overall width and depth cannot tell you where the water leaves the tray.
Mark where the rack can actually stand
Choose a position that supports the rack as its instructions require. Mark its footprint with removable tape suitable for your counter. Keep the sink bowl, counter edge, faucet controls and other obstructions outside that supported area. Add the tray extension and accessory holders in the configuration you intend to use.
Now locate the sink's inside edge along the proposed drainage route. The outside edge of a raised rim is not the target: water needs to leave the outlet over the bowl rather than land on the rim.
Record three drainage checks
- Horizontal reach: locate the outlet tip in the chosen spout position. Check that it reaches beyond the inside edge of the sink. Ask the maker for a dimensioned drawing if the listing does not locate the outlet.
- Vertical clearance: measure the raised rim above the counter and compare it with the underside of the drain channel along its route. The channel must clear the rim without being forced upward.
- Water path: follow the tray and spout to the exit. The manufacturer's intended drainage slope must remain intact, with no obstruction or unintended low point along the path.
A simple reach calculation
Illustrative geometry, not a product specification: suppose the rack's sink-facing reference edge is 2.75 inches from the inside edge of the bowl. A manufacturer-confirmed outlet projection of 2.25 inches from that same reference edge would stop 0.5 inch short. Being close to the sink does not make it a drainage fit.
If the outlet instead projected 3.25 inches, it would overlap the bowl by 0.5 inch in plan view. That passes only this horizontal check. It says nothing about rim height, drainage slope, dribbling or stability. Do not treat the example overlap as a universal installation allowance.
What an adjustable spout does—and does not—tell you
Joseph Joseph describes three spout positions for its Extend Slim Steel. Simplehuman describes a pivoting spout on its Steel Frame Dishrack. These features can help align an outlet with the sink. Neither feature alone establishes compatibility with your particular rim or counter layout. The pages reviewed did not establish a numerical reach or maximum rim height for this guide.
Before buying, ask: “For this exact model, where is the outlet relative to the rack's outside edge, and what is the clearance beneath the channel in that position?” Include your rim height and distance to the bowl. Avoid substituting specifications from a compact, standard or older model.
If the path does not work
Try another maker-permitted orientation only if the complete base remains supported and the drainage path still works. Otherwise, consider a different rack or a collection tray designed to be emptied manually. Follow its care instructions and empty it before water can overflow.
Do not assume a generic extension, improvised riser or tilted foot is compatible. Those changes can affect stability and drainage. Once assembled according to its instructions, observe drainage with a small amount of water before loading dishes; wipe up leaks and stop if water runs onto the counter.
Next measurement
Use the Fit Finder for the rack's rectangular footprint, then check loaded height and removal room. The calculator cannot validate a spout or certify drainage.
Sources and research limits
Manufacturer pages checked October 10, 2026. Numerical examples are illustrative calculations, not physical product tests. Missing reach and clearance values remain unverified.